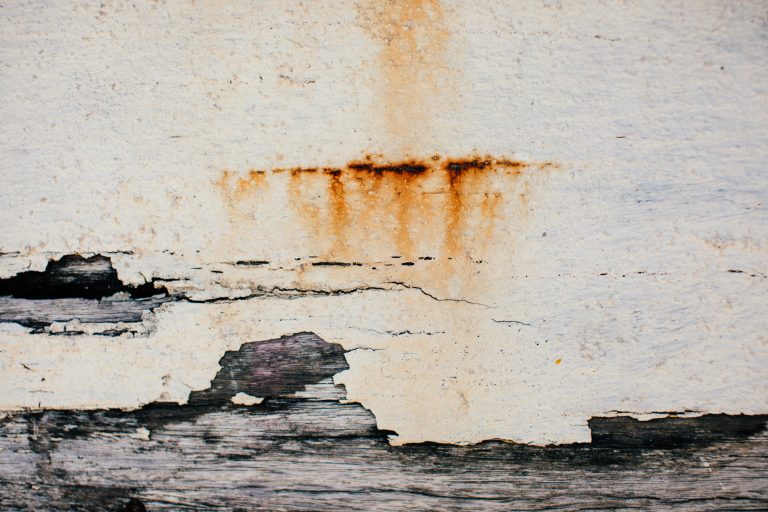
Picture this: it’s the first thaw after a long winter, and you notice ugly cracks and peeling patches on your stucco walls – all caused by months of snow, ice, and freezing temperatures. It’s a common scene for those who didn’t prepare their stucco for the cold. But the good news is, that damage is preventable with a little preparation.
Winter in New Jersey is no joke – it can be brutal and unforgiving, with freezing temperatures, snow, and ice all testing the durability of your home’s exterior. If your house has stucco siding, those winter elements can be especially rough on it. Stucco is a durable and popular exterior finish, but it’s not invincible. Frost, moisture, and the repeated cycle of freezing and thawing can cause stucco to crack, crumble, or deteriorate over time. The good news is that with some proactive care, you can prepare your stucco for winter and help protect your facade from cold-weather damage. In this blog post, we’ll go over homeowner-friendly, practical steps to winterize your stucco exterior. By taking these measures before and during winter, New Jersey homeowners can safeguard their stucco and avoid costly repairs come spring.
Why Winter Weather Can Damage Stucco
New Jersey winters bring a mix of frigid temperatures, snowstorms, sleet, and ice. These conditions are tough on any exterior material, but stucco requires special attention due to how it interacts with moisture and temperature changes. Freeze-thaw cycles are one of the biggest culprits behind stucco damage in cold climates. Here’s why: stucco is a porous material, meaning it can absorb water (from rain, melting snow, or even humidity). When temperatures drop below freezing, any water absorbed in the stucco or sitting in small cracks will freeze and expand. This expansion pushes against the stucco from the inside, stressing the material. Once the temperature warms up again, the ice thaws, relieving the pressure. But repeated freezing and thawing cycles act like a jackhammer on your stucco (think of how potholes form in asphalt from water freezing and expanding) – eventually causing tiny cracks to widen or pieces of stucco to loosen.
Moisture is the other enemy. Even without freezing, water can do damage if it seeps behind stucco. In winter, snow that piles up against the house or ice that melts can trickle into any opening. If water finds its way behind the stucco layer (for instance, through unsealed gaps around windows or doors, or through cracks), it can lead to problems like mold, wood rot in the underlying structure, or the stucco pulling away from the wall. And once that trapped water freezes, it can push the stucco outward, causing bulges or more cracks.
Rapid temperature swings can also cause stucco to expand and contract, adding stress especially if it’s already cracked or damp.
De-icing salts from driveways can also splash onto lower walls and cause minor surface damage or discoloration over time.
In summary, winter weather can harm stucco by:
- Moisture infiltration: Water seeps into stucco through cracks or gaps.
- Freeze-thaw expansion: Trapped water freezes, expands, and pries stucco apart.
- Repeated cycles: Each freeze-thaw cycle widens cracks or loosens stucco more.
The key to protecting your home’s stucco is to minimize how much water gets in and to fix vulnerabilities before they’re exposed to freeze-thaw stress. Next, we’ll walk through practical steps to get your stucco ready for the cold season.
Inspect and Repair Stucco Cracks Before Winter
One of the most important steps in winterizing your stucco is a thorough inspection of your home’s exterior. Early fall (or before the first hard freeze) is the ideal time to do this. Walk around your house and take a close look at the stucco walls:
- Check for cracks: Even small hairline cracks can allow moisture in, and larger cracks should be addressed promptly.
- Chips or bulges: Chipped or bulging areas indicate damage (often from past moisture) that should be repaired to prevent spreading.
- Around windows & doors: Check edges where stucco meets frames or other materials; these are common spots for gaps.
- Stains or efflorescence: Discoloration or white powdery deposits mean water has been seeping through the stucco (a red flag of moisture problems).
Once you’ve identified any problem areas, repair them before winter cold sets in. For hairline cracks, you might use a high-quality exterior caulk or a stucco crack repair sealant. Many home improvement stores sell masonry caulk that can fill small stucco cracks and is paintable to match your wall. For slightly larger cracks or small missing chunks, a stucco patching compound works well (it’s usually a pre-mixed product you apply with a putty knife or trowel to fill the void and smooth out). Perform these repairs on a mild, dry day (above freezing) so materials cure properly.
If you find major cracks (say wider than a quarter-inch or spreading over a large area) or stucco that is loose and bulging, it’s best to call a professional stucco repair service. Significant cracking can indicate deeper issues (like hidden water damage or structural settling) that a pro should assess. Large stucco repairs can be tricky to do in cold weather, but an experienced contractor will know how to handle them or stabilize the area until proper repairs can be made. Remember, a $5 tube of caulk now can save you from a $500 repair bill later. Taking care of these issues now will save you headaches and bigger expenses later.
Refresh and Seal Gaps Around Windows and Doors
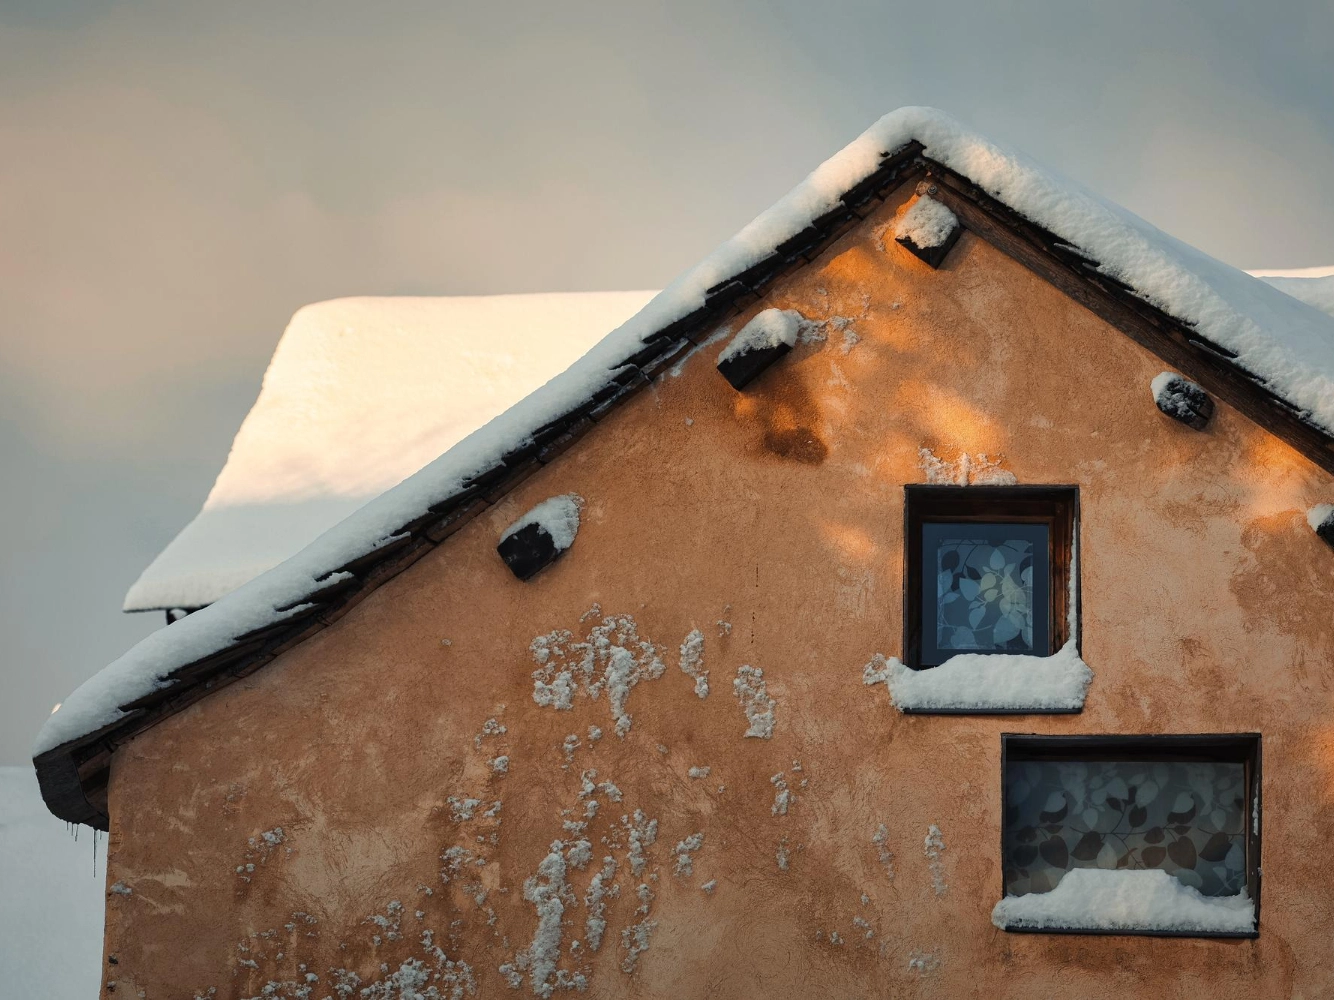
Another key step in protecting your stucco facade is to ensure all windows, doors, and other openings in your exterior are properly sealed. Even if your stucco itself is in great shape, gaps around window frames or door frames can let water sneak in behind the stucco. Once water is behind the stucco, it can cause the stucco to separate from the wall or even leak into your interior – and if that water freezes, it’s bad news for the surrounding stucco and the wall structure.
Take the time to inspect the caulking around:
- Window frames: Inspect all sides where the frame meets the stucco.
- Door frames: Check all doors (including garage doors) where frames meet stucco.
- Other penetrations: Pipes, vents, wires, outlets – any item that exits through stucco should be sealed around its edges (including where stucco meets the foundation).
Over time, caulk can dry out or crack due to weather and the natural movement of building materials. If you find cracked or peeling caulk, it’s time to re-caulk those areas before winter. Use a good exterior-grade caulk that adheres to both stucco and the adjacent material (for example, a polyurethane or silicone caulk made for outdoor use). Some caulks even come in textured or stucco-colored varieties for a neater look.
Plan this for a dry day above freezing. Scrape out any old caulk, clean the area, then apply a new bead of caulk to seal the gap completely. Be sure to press the caulk into the gap and overlap it onto both the stucco and the frame. Smooth it out for a tight, neat seal.
By renewing caulk and seals around openings, you create a continuous barrier to keep melting snow and rain from getting behind your stucco. This simple maintenance step can dramatically reduce the risk of winter water intrusion.
Apply a Water-Repellent Coating to Your Stucco
Stucco is sturdy but porous. To keep water from soaking in (and later freezing inside it), apply a water-repellent layer over the stucco. There are two common approaches:
- Clear masonry sealer: A transparent, breathable sealer that penetrates stucco and creates an invisible water barrier. It preserves the look of your stucco while causing rain and melting snow to bead off instead of being absorbed.
- Elastomeric paint: A high-quality exterior paint (often elastomeric) that adds color and a flexible, waterproof skin to the stucco. These paints can seal hairline cracks and block moisture, and they’re formulated to handle harsh climates.
Whichever you choose, prep and timing are important. Make sure the stucco surface is clean (remove any dirt or mildew) and dry. Apply the sealer or paint on a day with decent weather – ideally in fall before the deep cold, with temperatures around 50°F or above so it can cure properly. If winter has already arrived and you missed this step, it’s usually best to wait until a milder period or early spring to apply these products, since they won’t adhere or cure well in extreme cold or wet conditions. You can roll or spray on clear sealers (usually two coats for full coverage), while paint can be brushed or rolled on as usual (also typically two coats for even protection). Always follow the product instructions for best results.
This protective coating is like a shield for your stucco. By sealing out moisture, you dramatically reduce the risk of freeze-thaw damage. Water will have a hard time getting into the stucco, which means there’s little to nothing inside to freeze and crack. As a bonus, keeping your stucco drier also helps prevent problems like efflorescence (white mineral deposits) and mold. A weekend spent sealing or painting your stucco can add many years to its lifespan, especially in a damp, cold environment like New Jersey. For continued protection, plan to reapply clear sealer every few years (or as directed by the product), since protective coatings can wear off over time.
Ensure Proper Drainage and Water Management
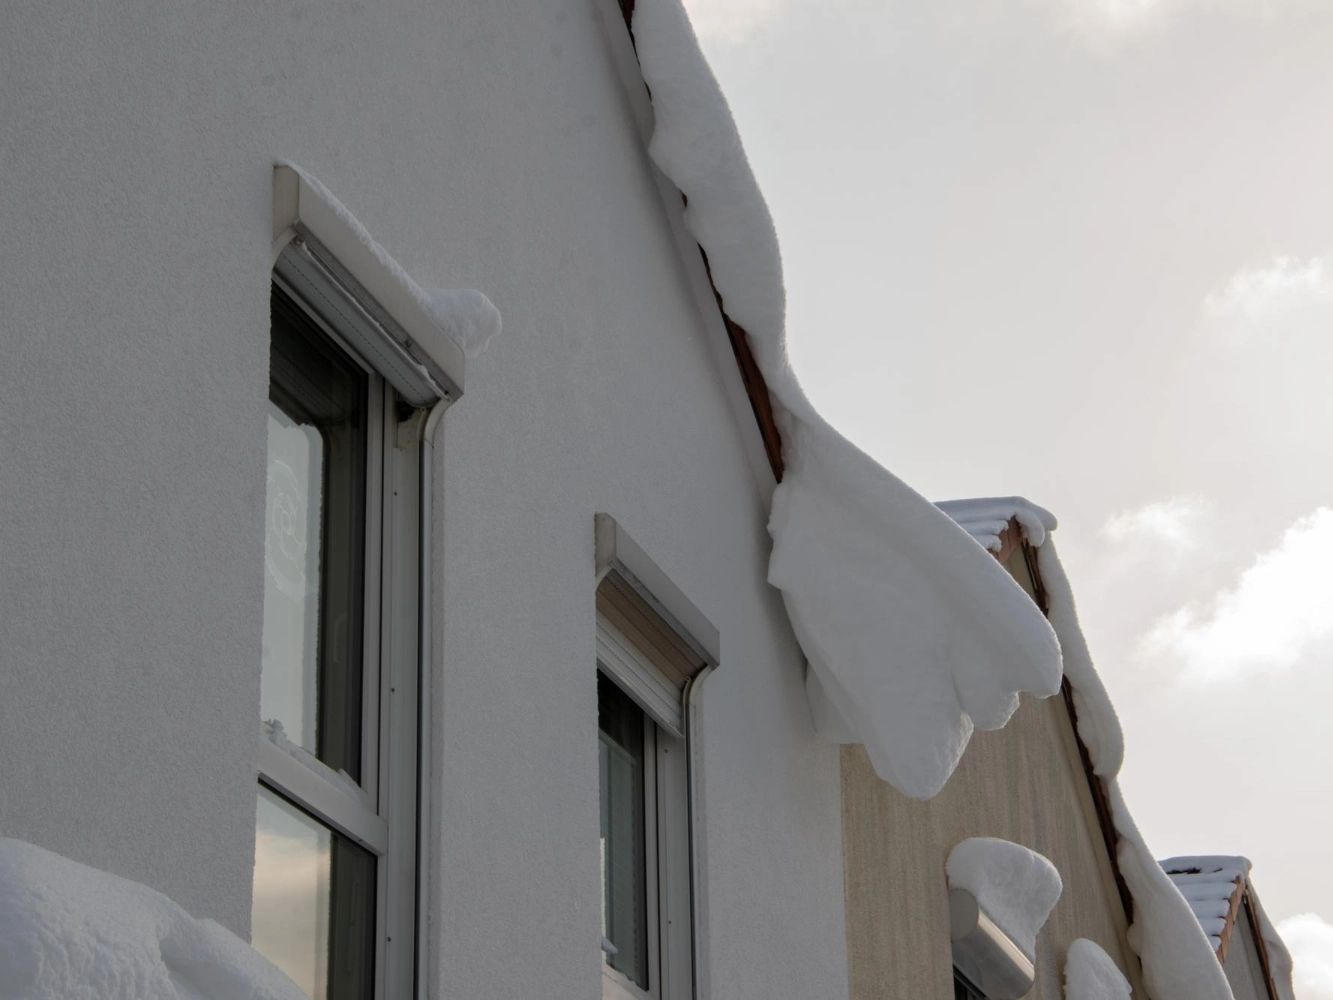
Even a well-sealed stucco wall can be compromised if water is allowed to constantly soak it. For example, a clogged gutter might overflow and send water streaming down your stucco, or a low spot in your yard might let snowmelt pool against the wall. These situations can undermine even the best protective measures. Managing how water and snow move around your home is part of winter prep. Make sure your home’s drainage and surroundings direct water away from the stucco:
- Clean gutters regularly so they don’t overflow onto walls. Clogged gutters can dump water down your stucco, increasing saturation and freeze damage.
- Extend downspouts to carry water a good distance from your foundation. You don’t want roof runoff pooling at the base of your walls.
- Check grading of the soil around your house. The ground should slope away from exterior walls so melting snow or rain drains away, not toward your foundation.
- Shovel snow away from stucco walls after heavy storms. Don’t let big snow piles lean on your exterior – when they melt, that water can seep right into the stucco.
- Watch for ice dams on your roof. If you see ice building up at the roof edge, take action (safely, or with professional help). Ice dams can force water into the house, which might then leak behind your stucco. Preventing ice dam leaks will protect your walls as well.
By ensuring proper drainage, you’re preventing a lot of unnecessary water exposure to your stucco. The drier you keep your exterior, the better it will fare when the freeze hits. Think of it this way: stucco can handle cold just fine when it’s dry; it’s the combination of cold plus water that causes trouble.
Additional Winter Care Tips for Stucco Homes
A few more practical tips to keep your stucco house in top shape through the cold season:
- Finish big projects before winter: If you need to repaint or re-stucco, get it done in the warmer months. Stucco and paint often require temperatures above 40–50°F to set properly.
- Monitor during the winter: Periodically walk around your home and check the stucco, especially after major storms. Catching a new crack or issue early means you can plan a repair before it worsens.
- Use de-icing salts carefully: Try not to scatter salt right next to your stucco walls. Salt can cause discoloration or surface damage. In spring, rinse off any salty residue that may have splashed onto the stucco.
- Be cautious with holiday decorations: Avoid drilling new holes into stucco to hang lights or decor. Use clips or removable hooks, or utilize existing hooks. Making new holes can invite moisture.
- Watch interior signs: If you notice water stains or peeling paint on the inside of an exterior wall (for example, brown spots on your drywall or bubbled, cracking interior paint), it could signal a leak through the stucco. These are red flags that water may be getting past your stucco’s defenses. Don’t ignore it – investigate the cause or call a professional to check it out.
- Call the pros when needed: If you’re not comfortable with a repair or if you suspect significant damage, consider hiring a professional stucco contractor. They have the expertise to fix issues correctly (and safely, even in cold conditions). This is especially wise if your home has EIFS (a synthetic stucco system) where moisture damage can be hard to spot – an expert will know what to look for. In general, it’s better to invest in a proper repair than to risk a DIY fix failing in the middle of winter.


Conclusion: Protect Stucco Now, Avoid Repairs Later
New Jersey’s winter weather may be harsh, but with the right preparation, your stucco exterior can withstand the frost and moisture. By inspecting for damage, sealing gaps, adding a protective coating, and managing water around your home, you’re taking smart steps to prevent minor stucco issues from turning into major problems. A little effort now means you’re far less likely to face expensive stucco repairs when spring arrives.
If you’re unsure about any step or you’ve discovered significant stucco problems, don’t hesitate to call in a professional. It’s often cheaper and easier to address issues early with expert help than to fix extensive damage later. (For example, our team at ZD Stucco Repair has experience helping New Jersey homeowners keep their stucco in top shape through the winter.)
With these precautions in place, you can head into winter with confidence. Your stucco can remain solid, attractive, and weather-resistant for many years to come – no matter what New Jersey’s winter throws at it.